How to Create Audiograms and Other Promo Content
In past articles, we've talked a lot about the importance of promoting your podcast, establishing your show's brand, and building a consistent look, feel, and sound for your episodes.
Being able to produce reliable promotional content for your podcast is an essential part of the process — especially if you want to gain more followers and listeners. While you may be familiar with using graphics and images to promote your show, audiograms are one of the most powerful tools you can use to get your message out.
We've all seen them before during our scroll through social media — a short snippet of audio is played while an image or video plays along. Audiograms have become increasingly popular for podcast promotion since they are quickly shareable, look great, and can be tailored to the specific message you want to convey.
Creating an audiogram may sound intimidating, but anyone can do it with some basic tools and guidance. In this guide, we'll walk you through the steps you need to take to create an audiogram for your podcast.
The Power of Audiograms in Podcast Promotion
Every podcaster has experienced one of those special moments while recording an episode. It's that moment where everything clicks, your guest is nailing their points, and it's a great all-around moment.
These moments are powerful, but unfortunately, they often get lost in the shuffle when you post about the episode on social media or other platforms. Audiograms can help bring these “soundbite” moments back to life by taking short snippets of audio from your episodes and turning them into a short, shareable video.
Audiograms are great for podcast promotion for many reasons.
First and foremost, they grab attention on social media with their visuals and sound. They also allow you to take the best moments from an episode and showcase them in a way that encourages people to click through and listen.
Tools and Software for Creating Audiograms
To start creating audiograms for your podcast, you'll need some tools.
Arguably (as with anything in independent podcasting), this is the most important part. You want to choose the right tools so that you can create your audiograms quickly and easily. However, you also need to keep things within budget (or free, if possible), so that you can get started without breaking the bank.
Fortunately, many great tools and software packages are available to help you create audiograms. Here are some of our favorites:
• Adobe Audition/ Premiere Pro – This is probably the most powerful option for creating audio clips, but it's also quite expensive for beginners.
• Headliner – This is the most popular platform for creating shareable audio clips. It has a user-friendly interface and plenty of features to help you get your content ready in no time.
Depending on the platform you choose, these tools will have different steps to help you create your audiogram. However, most will be a combination of upload, edit, and export.
Step-by-Step Guide to Creating Audiograms
Once you have the tools and understand the basic steps for creating audiograms, you’re ready to start. Here’s a step-by-step guide that will walk you through the process of creating your own audiogram:
1. Choose the audio clip
Select the best soundbite from your episode and ensure it isn't too long or too short. You want it to be just the right length for your social platform.
2. Edit the audio clip
Use your chosen audio editing tool to trim down the soundbite and make it easier to work with. Add effects or adjust the audio levels to ensure it sounds great if needed.
3. Add visuals to your audiogram
Choose a template from your chosen software or create your own visuals. This could be an image, video, or both. There's a tendency to slap any old image on the audiogram, but this can be a missed opportunity. Make sure your visuals are eye-catching and relate to the soundbite. Viewers are getting savvier, so your visuals need to be on point.
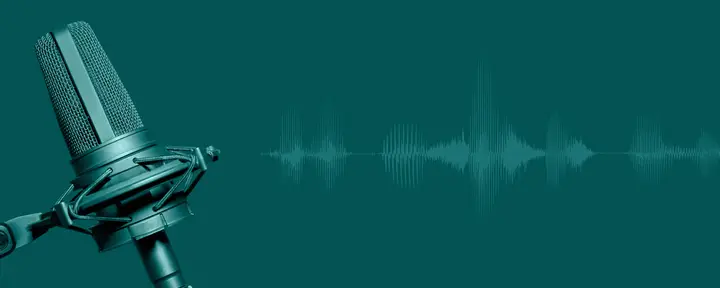
Audiograms have traditionally included waveforms, but don’t be scared to break the mold and try something different.Add text and graphics
Add any necessary text or graphics once you have the visuals in place. This could be anything from episode information to hashtags and website links. Most social platforms offer automatic transcriptions — which can be a great time saver. However, if you need to edit inside the app, it can be a tedious and time-consuming process. Consider adding text before you export — highlighting at least the salient points of your clip.
4. Resize for Each Social Channel
Once you’re satisfied with your creation, it’s time to prepare for the big show. Make sure that you resize your audiogram correctly for each social platform. This is a key step in ensuring that everyone can see and hear your content perfectly.
These sizes and dimensions are always changing, so be sure to check Facebook, Instagram, LinkedIn, or Twitter for their recommended best practices.
5. Export and share your audiogram
Finally, export your finished product and share it across platforms for maximum visibility! Use hashtags, follow best practices for the chosen channel, and don’t forget to link back to the full episode.
Reaching New Heights with Audiograms
Audiograms are an excellent way to promote your podcast and reach new listeners. They capture attention on social media with their visuals and sound, allowing you to take the best moments from an episode and showcase them in a way that encourages people to click through and listen.
By creating eye-catching visuals and sound, audiograms can draw attention to your podcast, encourage clicks, and increase engagement with the content. Additionally, they save time compared to other promotional content types like written posts or videos.
When used correctly, audiograms can take your podcast promotion to new heights! So get out there and start creating yours today.